Today was a day of visible progress. We started off finishing a few miscellaneous tasks. We tapped the tie down brackets for both wings and hung the left wing in the wing stand. Next we installed the top skins and match drilled them to the wing skeleton. Finally we cut and placed the "J" channels in the wing and match drilled them to the skin. It was great to see a lot of visible progress. Next time we'll install the bottom skins on the wing.

First step was getting the wing skeleton up on the wing stand.

Can you spot a bit of a sag in the wing?

We strung a string across to see just how bad the sag was (as recommended).

This is where the sting was placed on one end of the wing....

This is where the string was sitting in the middle of the wing.

The low-tech jack used to get rid of the sag.

The first skin cleco'd into place.

We were glad we spent some time fluting the ribs in sessions past, as it made for a real nice fit.
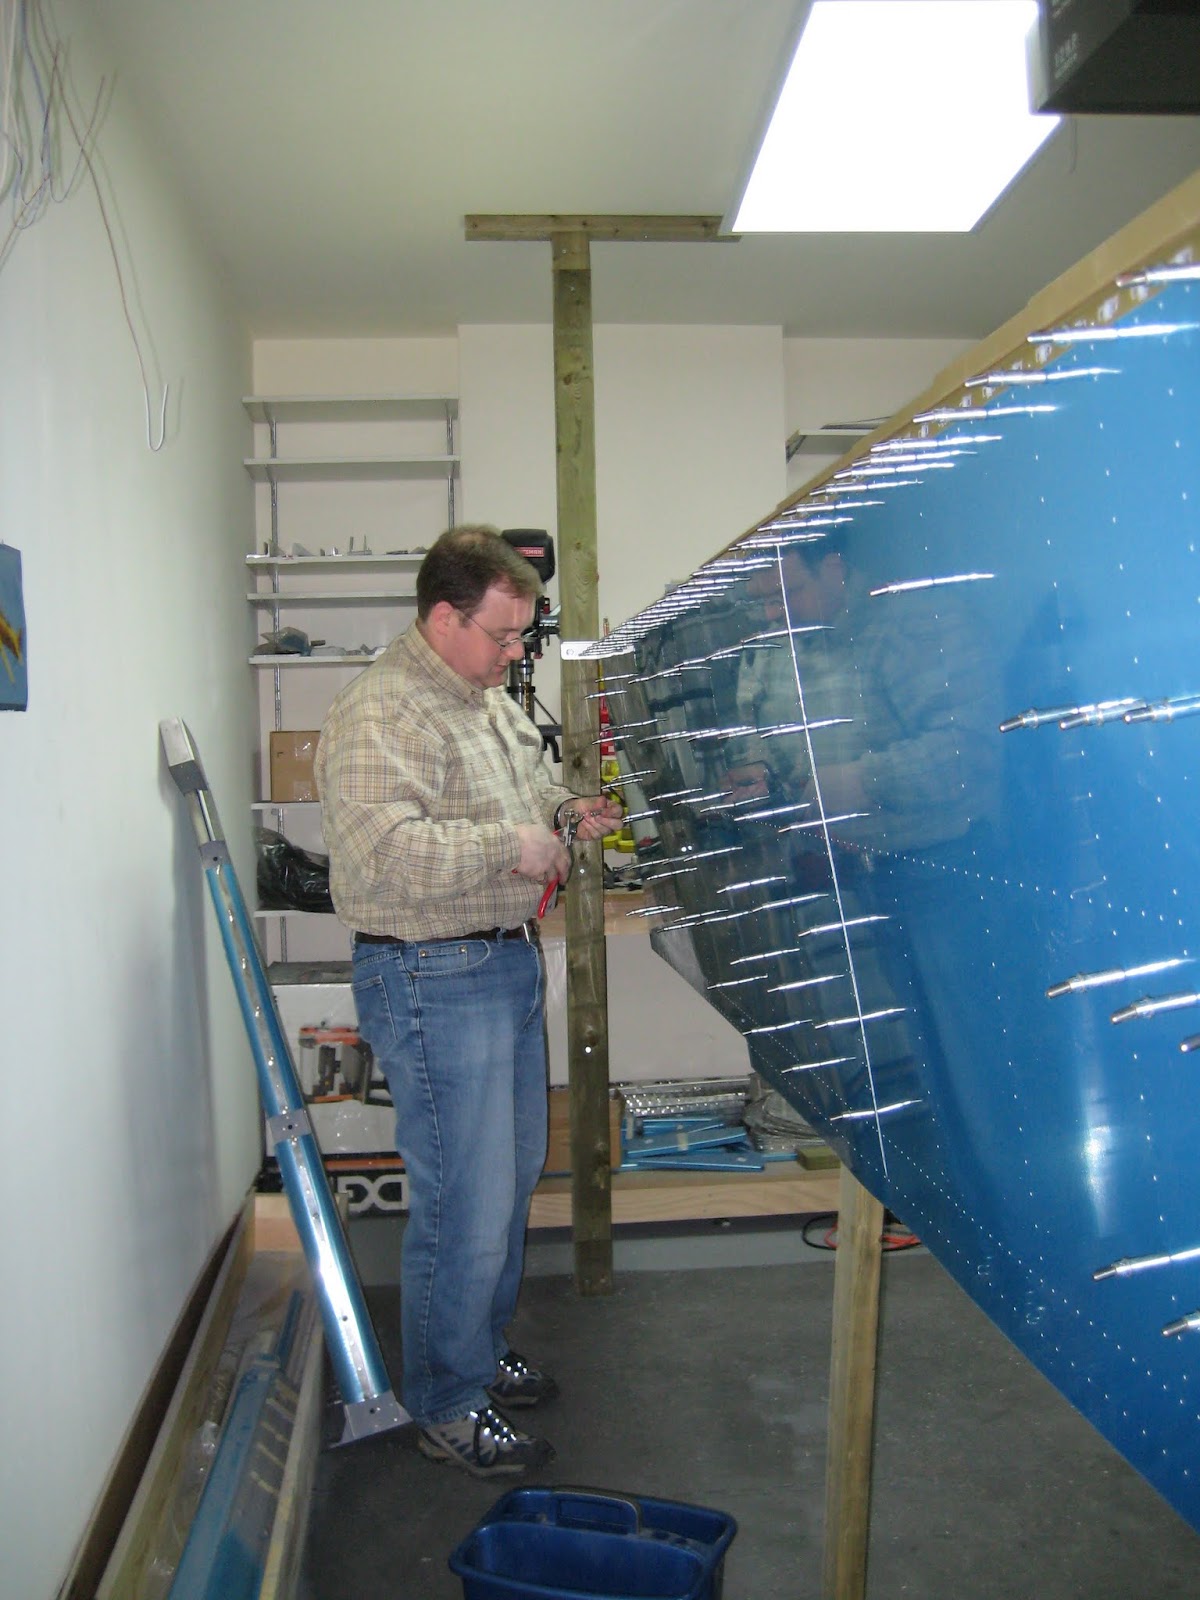
Scott working on drilling out some of the rivet holes to size.
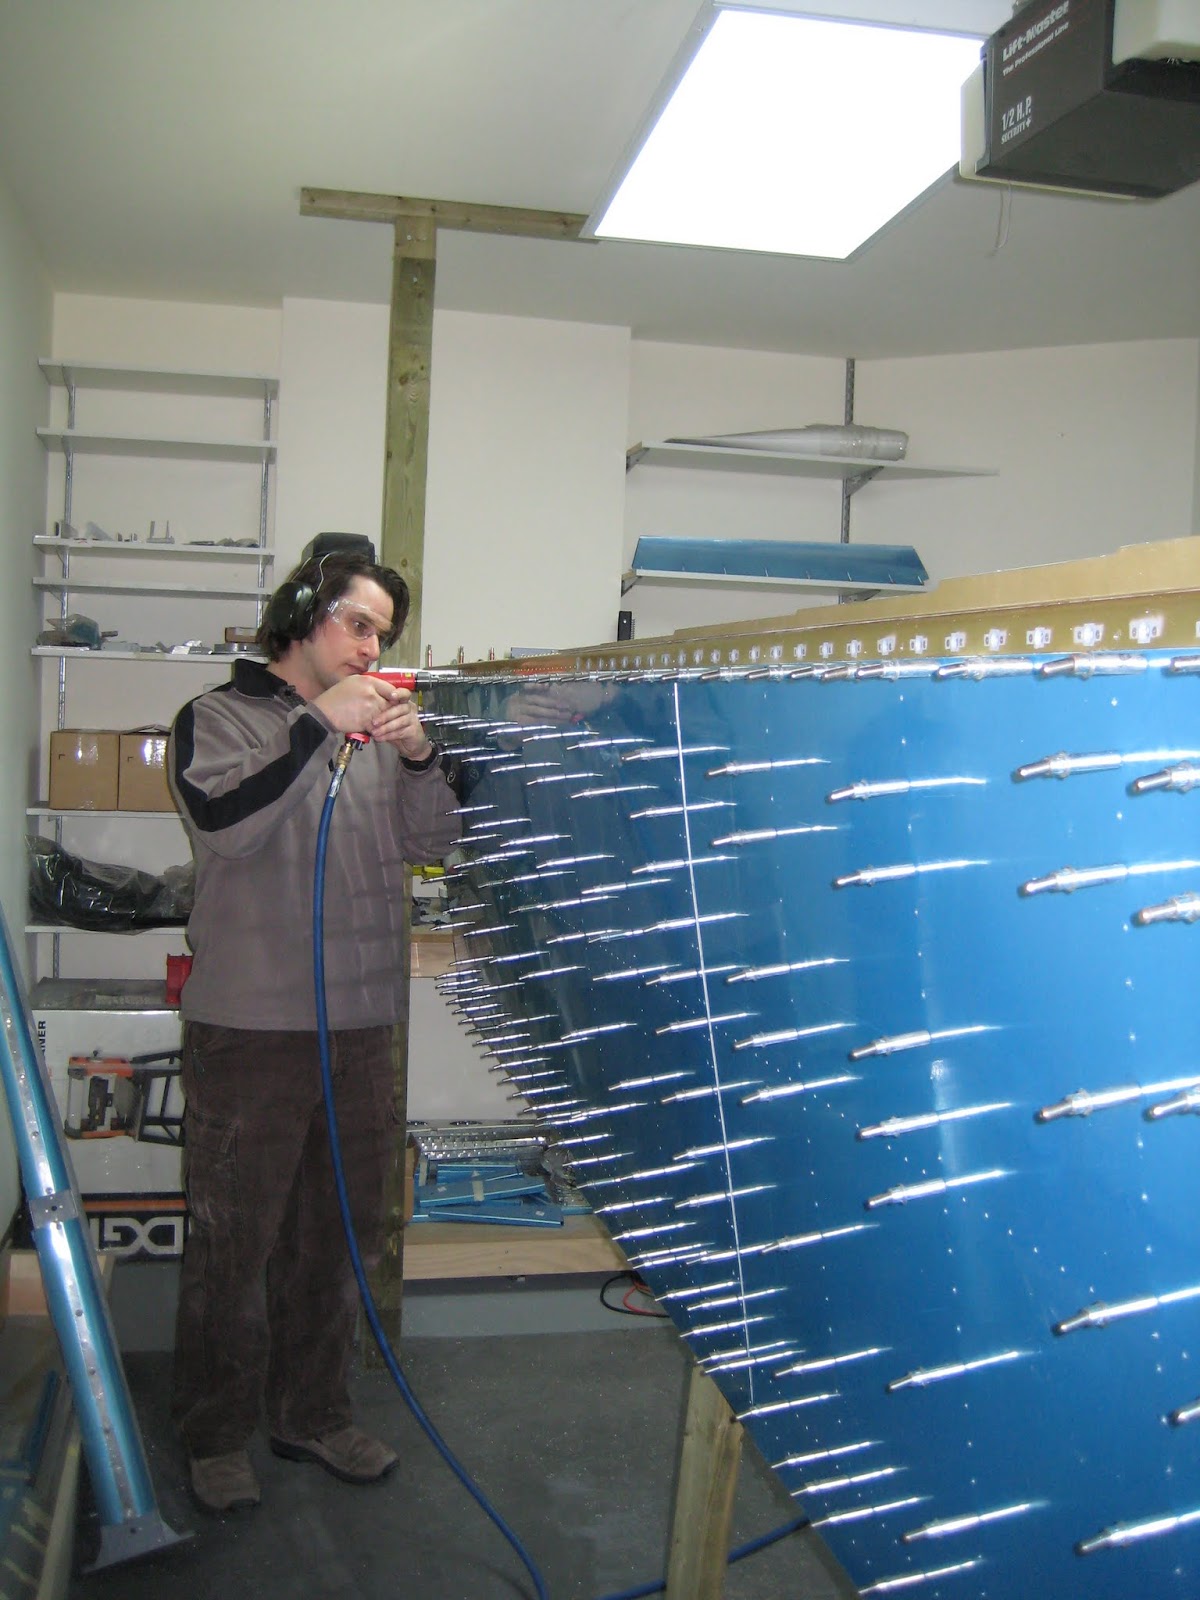
Darren working on drilling out some of the rivet holes to size.

A picture of where we ended for the day.

The other side. If you look closely in the middle of the wing you can see the J-stringer has been cleco'd into place.
|
Saturday, February 7, 2009
Left Wing Top Skins
Subscribe to:
Post Comments (Atom)
No comments:
Post a Comment