Saturday, February 28, 2009

Left Fuel Tank Ribs and Attach Brackets

Over the last 2 weekends we've been working on straightening and fluting the ribs for the left fuel tank.  The ribs are a very tight fit into the tank skin and we were having a lot of trouble getting a good fit.  Luckily we found an excellent website that gave us a good tip so we could move on.  We then manufactured the stiffners for the tank, deburred them and installed them in the tank.  Finally we drilled the pilot holes in the tank attach brackets.  There will be a 2 week delay until the next update. 

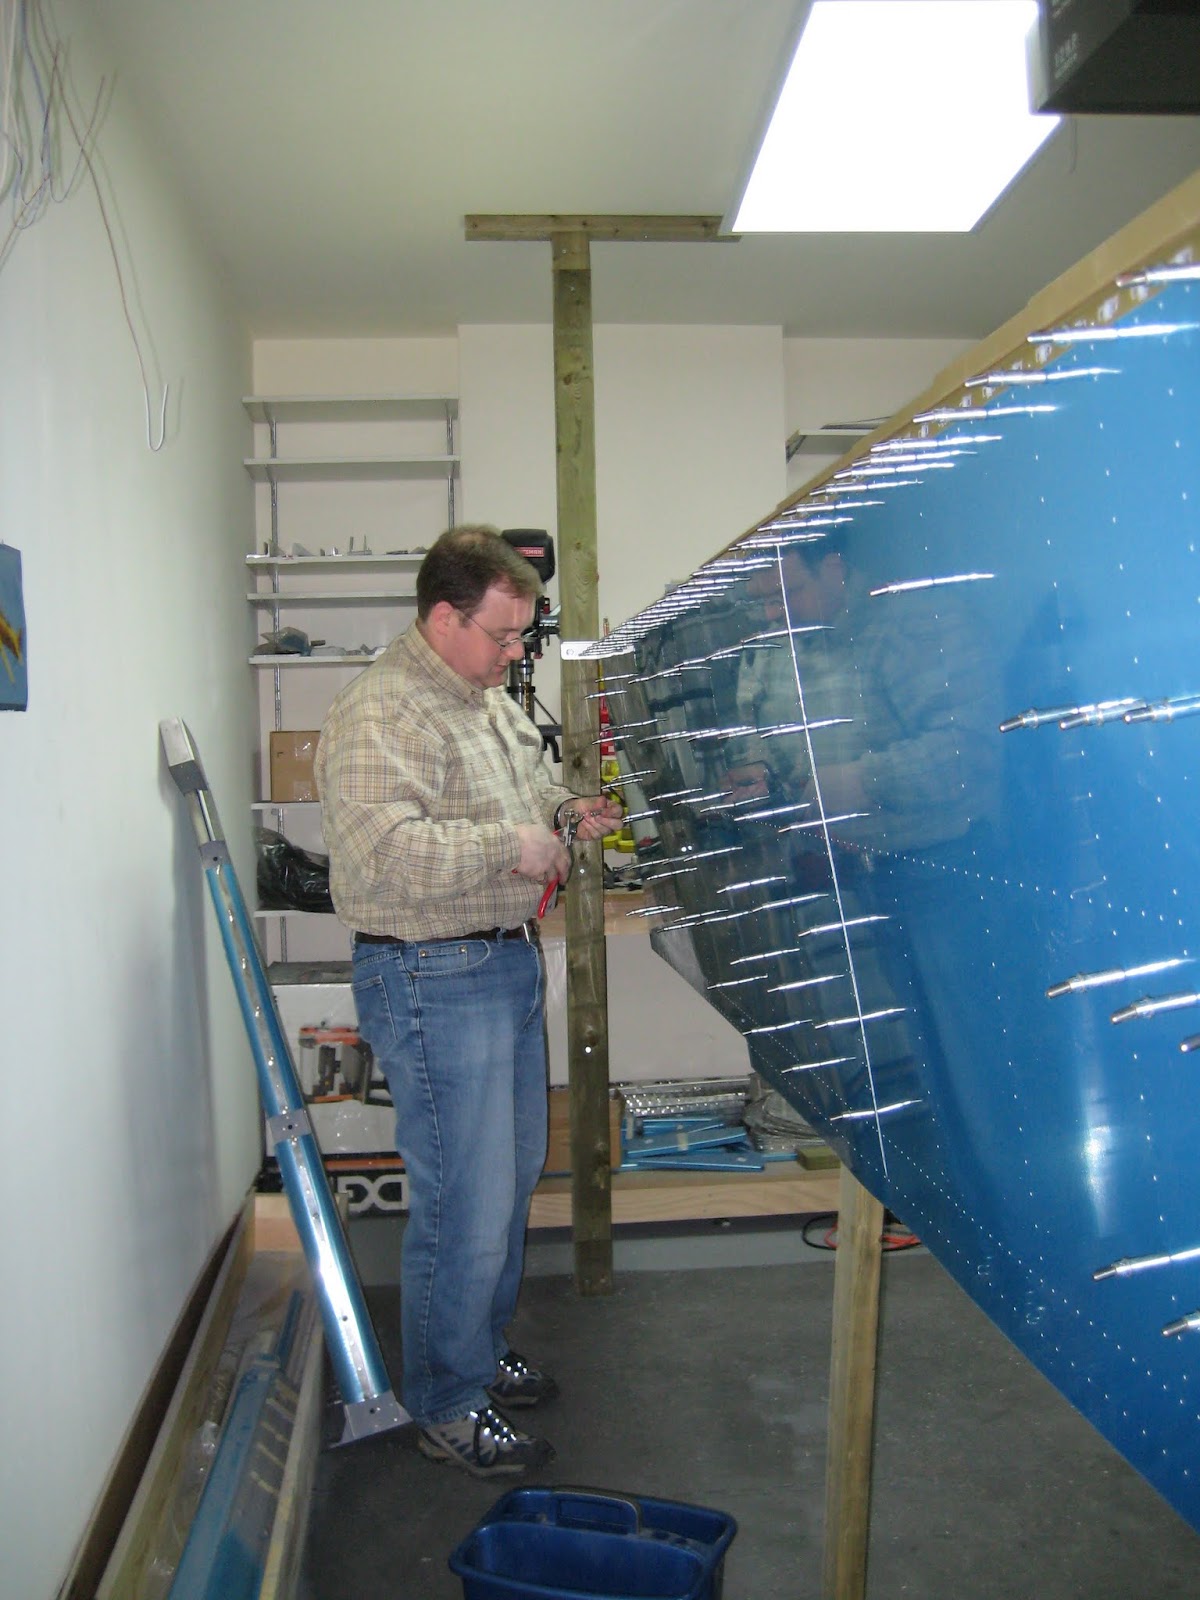
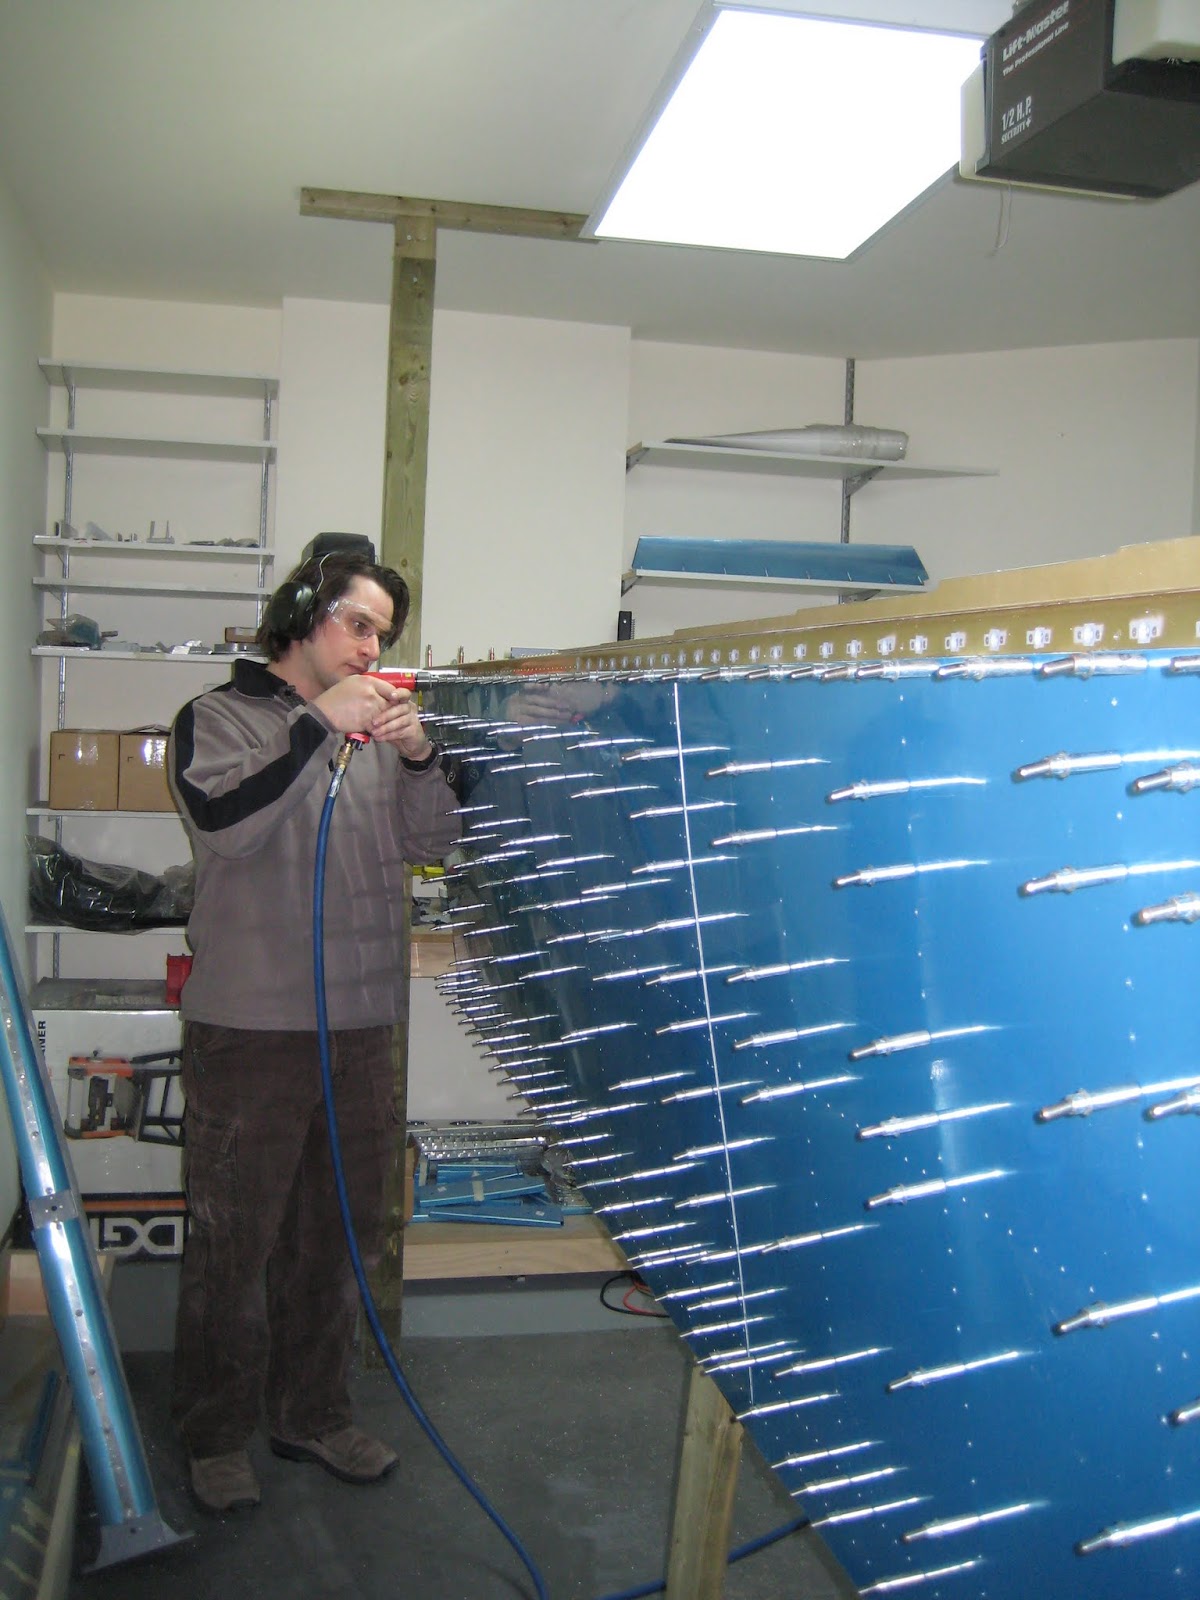
Scott working on clecoing the fuel tank ribs. 


A closeup of the inside of the tank. 


Another closeup of the inside of the tank.


One of the tank attach brackets up close.


The tank attach brackets sitting in position on the tank. 

Tuesday, February 17, 2009

Left Wing Leading Edge

We spent Saturday and Tuesday night this week working on the leading edge for the left wing.  It took a lot of tweaking to get the leading edge to fit.  We had previously straightened the ribs but we needed to install them and then install the leading edge onto the wing.  Once that was done we installed a "W-919"which is essentially a piece of aluminum that will join between the last rib and the fuel tank (a picture will show this better).  Finally we match drilled the skins, ribs and spars.

Scott installing one of the ribs into the leading edge. 


 The leading edge sitting attached to the wing.


Reinforcement  (W-919) in place.


A closeup of the sharpie line used to make the correct location of the reinforcement plate. 


Scott match drilling. 


Darren taking a turn at match drilling. 

Tuesday, February 10, 2009

Left Wing Bottom Skins

Tonight was quick, We first moved the bottom skins from Darren's house to mine.  Luckily Ottawa didn't get the freezing rain predicted!
We then clecoed the skins to the wing skin and then match drilled them to the wing frame.  The next step is to build the leading edge. 

Saturday, February 7, 2009

Left Wing Top Skins

Today was a day of visible progress.  We started off finishing a few miscellaneous tasks.  We tapped the tie down brackets for both wings and hung the left wing in the wing stand.  Next we installed the top skins and match drilled them to the wing skeleton.  Finally we cut and placed the "J" channels in the wing and match drilled them to the skin.  It was great to see a lot of visible progress.  Next time we'll install the bottom skins on the wing.

First step was getting the wing skeleton up on the wing stand. 


Can you spot a bit of a sag in the wing? 

We strung a string across to see just how bad the sag was (as recommended).  


This is where the sting was placed on one end of the wing.... 


This is where the string was sitting in the middle of the wing. 


The low-tech jack used to get rid of the sag. 


The first skin cleco'd into place. 


We were glad we spent some time fluting the ribs in sessions past, as it made for a real nice fit. 


Scott working on drilling out some of the rivet holes to size. 


 Darren working on drilling out some of the rivet holes to size.

A picture of where we ended for the day. 


The other side. If you look closely in the middle of the wing you can see the J-stringer has been cleco'd into place.