Friday, March 26, 2010

Lefty and Righty are ready for inspection

Darren and I took a day off work to wrap up work on the ailerons -- lefty and righty.  Because they're relatively straight-forward we built both ailerons together.  We started off by wrapping up dimpling the main skins.  Next we began assembly by attaching stiffner plates and plate nuts to the main spars.  After that we riveted the nose ribs to the counter-balance (a relatively heavy piece of stainless steel tube).  The final bit of skeleton assembly was to rivet the nose rib assemblies and the main ribs to the spar.  
After that we clecoed on the main and leading edge skins and began the process of riveting.  The remaining rivets will be set after the inspection.

Darren clecoing the nose ribs to the counter-balance tubes.


A picture of the aileron plans


Darren happily blind-riveting the nose rib to the counter balance


Lefty in the "Saddle" for riveting


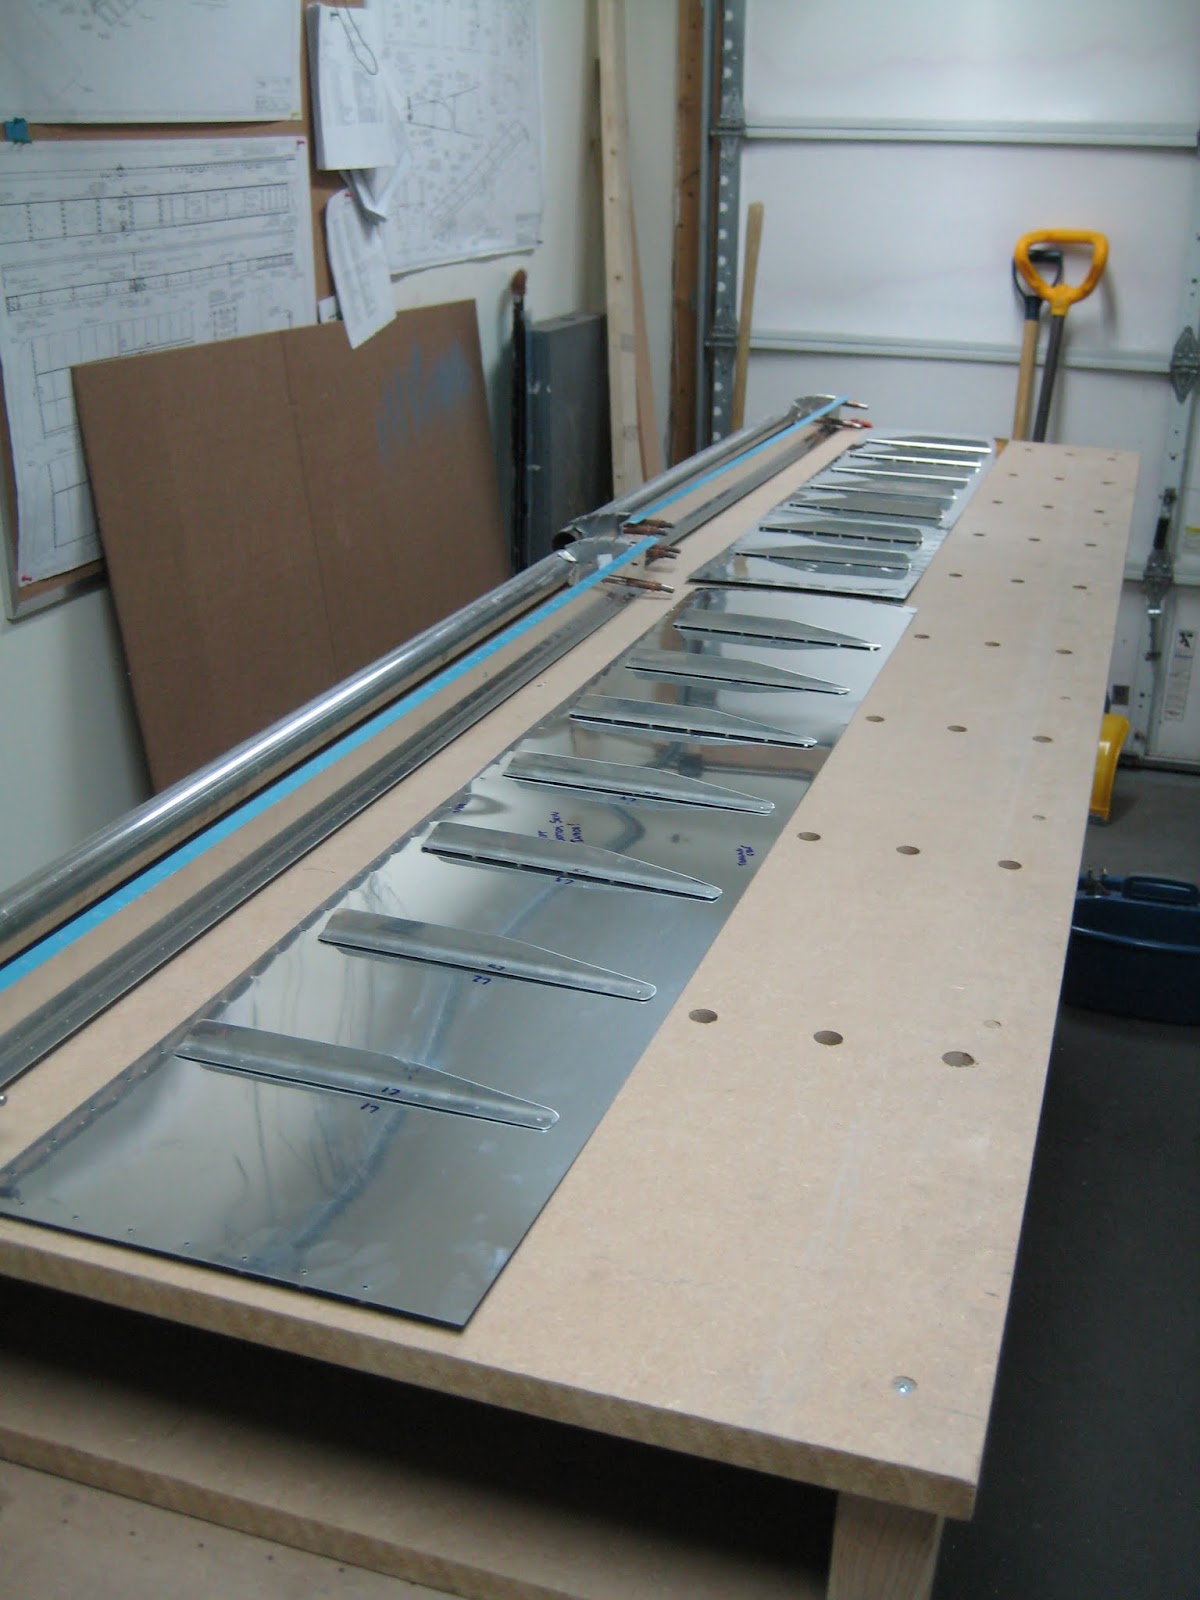
Lefty and Righty on the bench after riveting (note that the shop was also vacuumed)

Wednesday, March 24, 2010

Left and Right Aileron - Prep and Prime

Tonight we wrapped up the prep work on the ailerons.  We continued deburring any remaining holes and cleaned up the edges of all the aluminum sheets.  While that was being done the main spars were machine countersunk.  After that we finished dimpling the sheets before prepping and priming all of the parts.  The ailerons are now ready for assembly.


Monday, March 22, 2010

Left and Right Aileron Prep Work

Tonight we spent a couple of hours disassembling and prepping the left and right aileron parts.  We worked on deburring, dimpling and cleaning up the edges of some of the sheets.  There are a lot of parts but we made some good progress.  One more night of prep work and painting before we can start assembly.

Saturday, March 20, 2010

Left and Right Aileron Prep

Today we worked on both ailerons simultaneously.  First we back-riveted the stiffners to the main skins.  Afterwards, we spent time reworking one of the counterbalance tubes, once we were done the alignment was much better.  The rest of the assembly was typical with us assembling (with clecoes) and match drilling all of the parts.  Our final step was to drill the trailing edge wedge.  Both ailerons are ready to be disassembled and prepped for assembly.

Part way through back riveting the stiffners to the skins.


Scott match drilling some holes on the leading edge of one of the ailerons.


One of the ailerons match drilled, and ready for disassembly, deburring, dimpling, and priming.

Wednesday, March 17, 2010

Tonight we returned to the last major component of the wing kit.  We resumed work on the ailerons.  We started by prepping all of the stiffners and then match drilling them to the skins.  After that we deburred and dimpled all of the parts.  Finally we prepped and primed the parts.  

Scott taking the protective covering off of one of the pieces.


Some pieces of the ailerons laying out.


Same pieces after being primed.
Same pieces post priming from some other angle.

Monday, March 15, 2010

What's all the flap

Tonight we finished riveting the right flap (at least as far as we can before the inspection).  We started riveting the top skin to the ribs and then riveted the bottom skin to the spar.  It went fairly smoothly with only a few bruised knuckles and a mild case of thank goodness this is over.  I don't know how some of those guys with giant hands manage to rivet the bottom skin to the spar.

The flap weighed  down prior to riveting.


Scott taking a break from building to lift some weights.


The completed up to pre-close inspection flap.

Saturday, March 13, 2010

Finished riveting fuel tank

We worked on the fuel tank today and it went really well.  We finished riveting the ribs to the skins (don't forget that every rivet needed to have sealant added) and riveted the fuel cap flange to the tank.  Now both fuel tanks are almost ready for inspection (only a few more parts to rivet on).  


Scott working on the fuel tank.


Scott still working on the fuel tank.


A shot of the close to finished product..


 Another shot of the close to finished product.


One more shot of the close to finished product.

Monday, March 8, 2010

Next Fuel Tank

We decided to add an extra night this week so we could spend some time on the other fuel tank.  We find that working in relatively short spurts lets us do a good job but not get too sick of the smell.  We managed to get quite a few rivets put in place and sealed tonight.  It looks like we've found a good rythym with me on the rivet gun and Darren with the bucking bar.

The second tank almost half done.

Saturday, March 6, 2010

Right Flap work and fuel tank continued

On Saturday we started off by working on our nemesis, the fuel tanks.  Today's session went pretty well and we were able to wrap up the work on the first fuel tank.  We started off by riveting the fuel cap into place (which was a little more complicated because the cap flange isn't flat).  Next we riveted the two end ribs into place.  There are only 3 more pieces to put in place before this tank is ready for inspection.
After we set the tank aside (and let the stench of the solvent clear from the workshop) we returned to the flap.  We continued assembling the skeleton (nose ribs, main ribs, spar, etc).  Luckily almost all of these ribets could be squeezed which makes things move quickly.  Next we riveted the leading edge skins to the nose rivets (we had to use blind rivets because they can't be reached with a bucking bar).  After that we wrapped up the day by riveting the top and leading edge skins to the main spar.  
To end the day we vacuumed the shop.

Scott mixing up some Black Death.


The Fuel Tank.


Darren working on some flap assembly.


Darren riveting the leading edge onto the flap.


The top skin ready to be riveted into place.


The top skin ready to be riveted into place.  (From another angle) 

Tuesday, March 2, 2010

Right Flap Continued

This update covers the work done from February 27th until March 3rd.  We continued working on the right flap.  First we continued the process of deburring and dimpling all of the parts and skins.  Of course, the next step was to prep and prime all of the parts.  That was the end of Saturday.  On the Wednesday night we began the assembly of the right flap by riveting the nose ribs together and riveting those to the main spar.
February 27, 2010

Flap pre-assembly


After Priming.

March 2, 2010

Scott squeezing some rivets.


Darren squeezing some rivets.


Scott squeezing some rivets.