Saturday, January 23, 2010

Left flap ready for inspection, progress on fuel tank

Today we made a lot of progress.  It was great to see some visible progress again.  We first continued work on riveting the top flap skin to the ribs.  After a slight modification to one of our bucking bars (we needed to grind off some of the steel to make it a little narrower) this task was completed quickly.  After that we riveted the bottom left flap skin to the main spar.  It wasn't an easy task but we got it done (the flap is very narrow and our hands are not).  That's all that can be done on the flap until the inspection is completed.
After that we did a quick clean-up of the workshop and then returned to our old nemesis, the fuel tanks.  We completed riveting the interior ribs on one of the tanks and riveted one of the outside ribs.  One of the fuel tanks is getting close to being ready for inspection.
There will be a break in construction for the next few weeks.  Expect an update on February 20th.

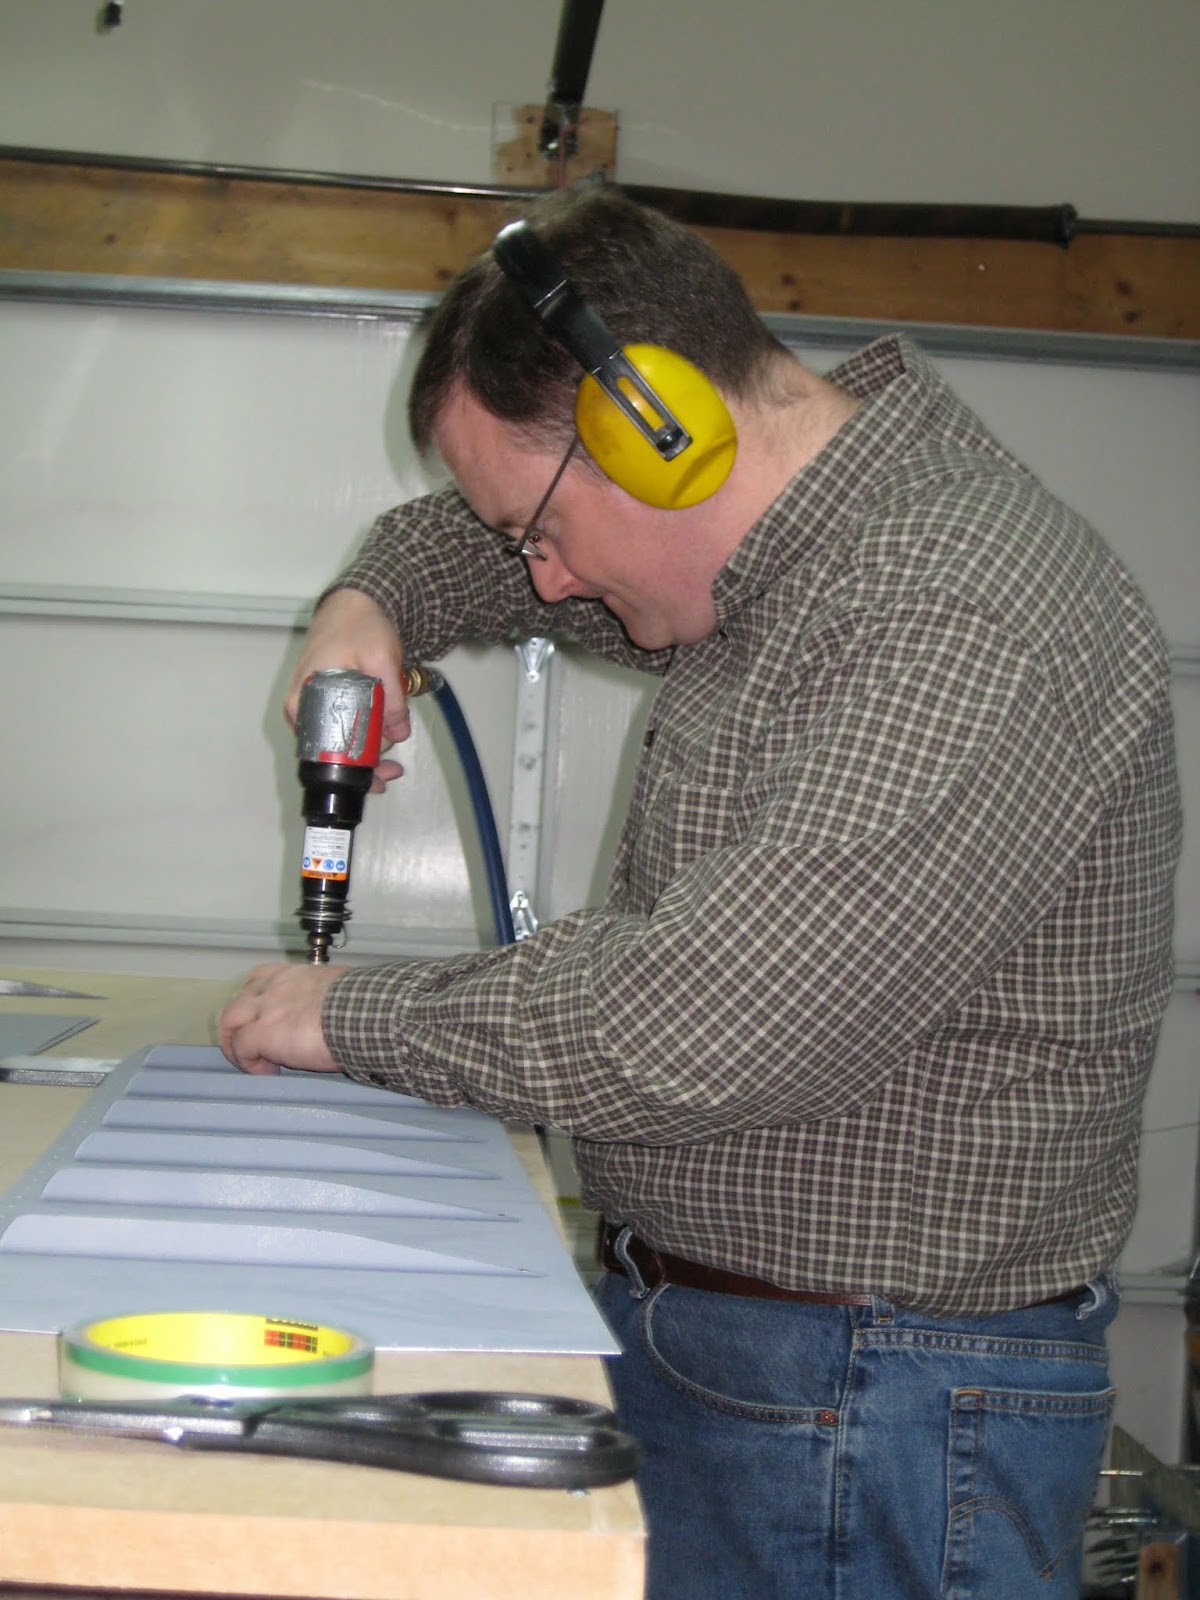
Still working on riveting the top skin onto the flap.
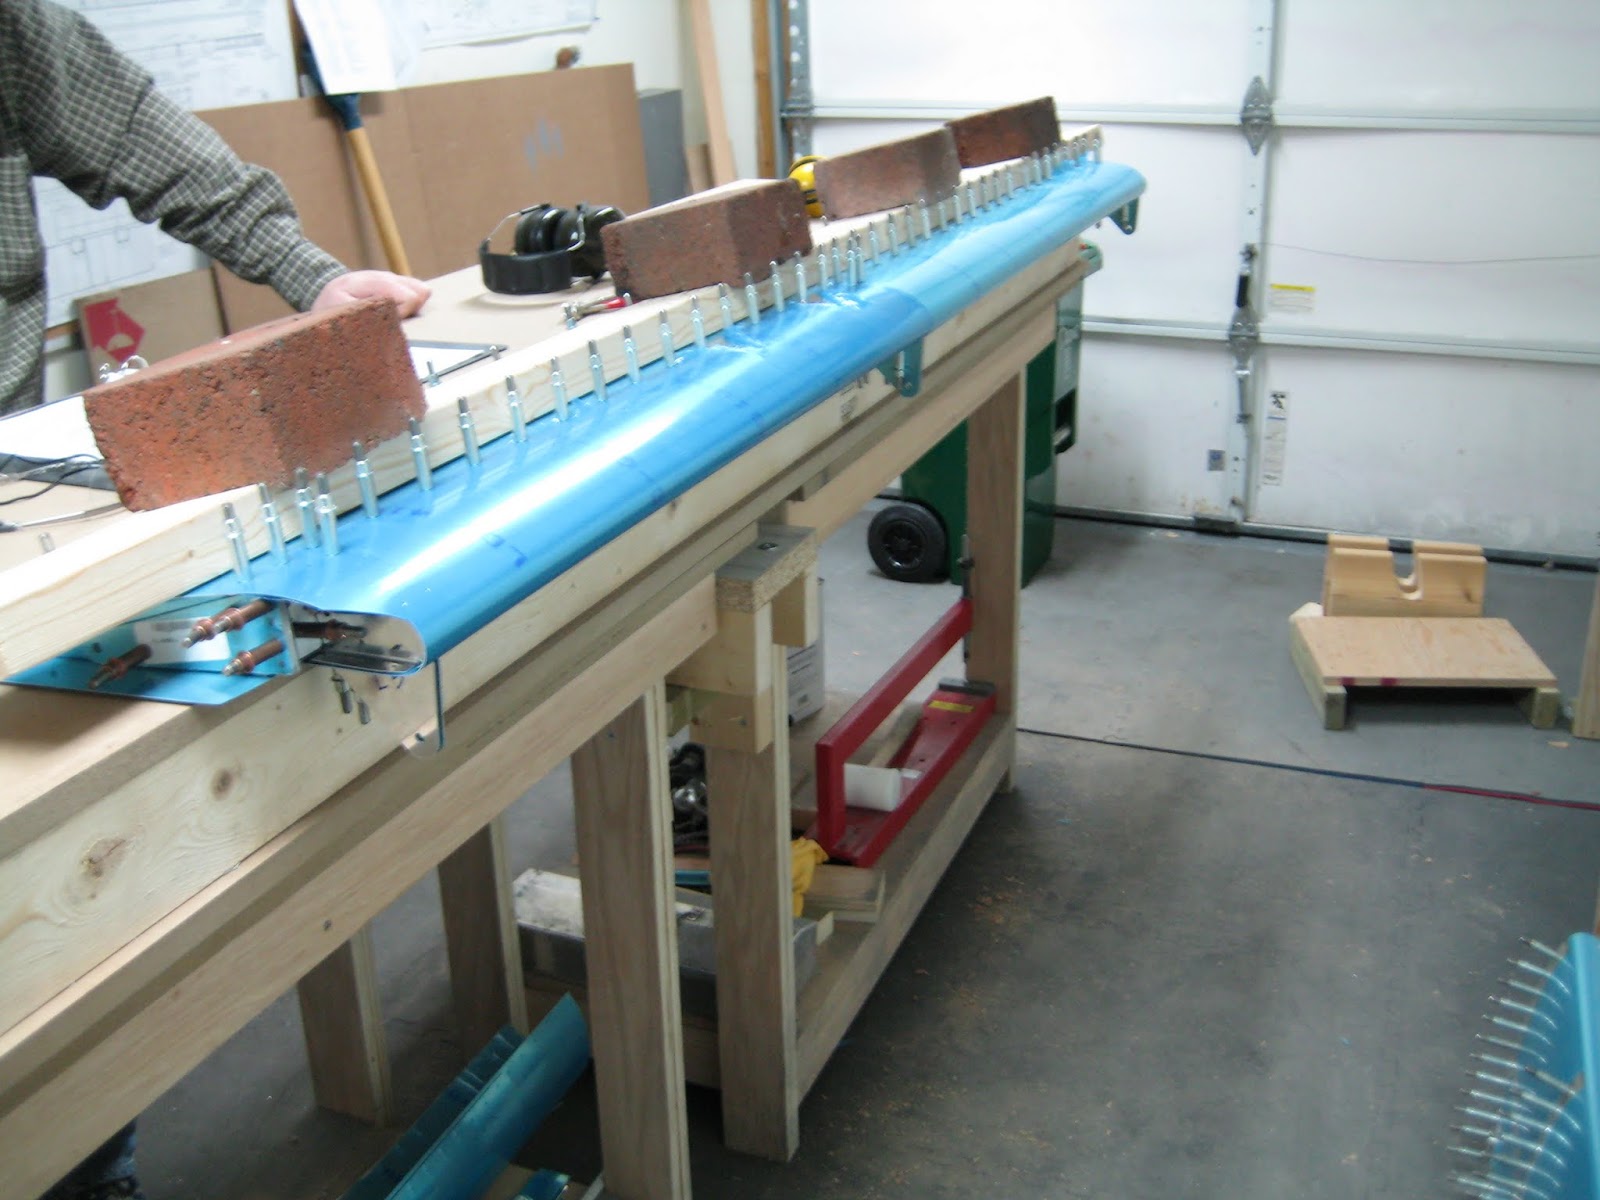

A shot of the flap.


Another shot of the flap


This is far as we can take the flap for now.


Back to working on the fuel tank for a little while.

Saturday, January 16, 2010

Left Flap Assembly

This week we worked on the assembly of the left flap.  On Tuesday night we spent some time assembling the leading edge rib assemblies (these are the pieces that hold on the leading edge skin and also attach the flap to the wing.  We then worked (both on Tuesday night and Saturday) on assembling the leading edge assemblies to the main spar.  We also attached the main ribs.  The leading edge was attached to the rib assemblies with a combination of blind rivets (also called pop rivets) and solid rivets.  Finally we began riveting the top skin to the main spar.
 Tuesday January 12

Scott squeezing some rivets.


A shot of the flap spar at some point during assembly.


Darren working on flap assembly.

Saturday January 16


Scott laying out the flap ribs.


Darren examining the flap prior to riveting


 Darren riveting the leading edge skin onto the flap.


Scot tremoving the 2x4 used to weigh down the flap during the riveting of the leading edge skin.


 Darren preping for the riveting of the top skin onto the flap.


Scott, and Darren riveting the flap's top skin into place.

Saturday, January 9, 2010

We've been working...

...really... I swear.
After a little boo boo on the aileron before Christmas we started working on the left flap.  There are a lot of little parts and assemblies plus the skins are extremely tight (which is a good thing since the skin forms part of the structure) so it took some work.  After assembly, match drilling and the standard prep work (diassemble, debur and clean up the edges) we moved onto the prep for priming (sand the surface, clean the parts with a smelly chemical and then prime).  All parts are now primed and ready for assembly.
I've been lax in updating the site since November, I promise we'll keep the site more up to date as we progress through the rest of the ailerons and flaps and finish up the tanks.
November 18th

 Some pieces primed, and ready for assembly. (we messed up 2 out of 4 of these pieces)

November 21st

Scott working on some back riveting. (Again, these are half right -- at least for an optimist)


Scott assembling the aileron frame.  (These are all correct)


The pieces of the flap layed out prior to construction.

December 5th


Post drilling out the table so the clecos will fit in the table, and the flap will lay flat.


Scott working on assembling the flap frame.


Scott working on attaching the leading edge skin to the flap.


 Scott still working on attaching the leading edge skin to the flap.


Scott taking a break to check the his work, and look at the instruction manual.


A shot of the weighed down flap. (to keep it laying flat.)


Another shot of the same thing....

December 13th

Scott working on drilling the leading edge ribs, and skins.


Darren taking things apart so it can be deburred, primed, etc.


Darren again.


The pieces apart, and ready for pre-assembly prep.

January 9th

 Darren standing around not doing all that much, some time during the dimpling, and deburring process.