Saturday, July 19, 2008

Ribs, ribs and more ribs (plus some assembly)

Today was almost all about deburring, cleaning, straightening and fluting all the ribs for both wings and both fuel tanks.  It was an incredible amount of work but with both of us working, we had it done after about 5 hours.  We then assembled and match drilled the ribs to the main and rear spars.


Pieces laid out.


The new die grinder to make deburring the wing ribs a little easier.


 Darren using the new die grinder on the ribs.


 Scott using the bench grinder to debur the edges.


 Things are looking ready for some assembly.


Hmmm.. That spar flange doesn't look quite right.... It should be a little more flush than that.... More on that later.

Friday, July 11, 2008

Left Wing Rear Spar Assembly

We spent some time on Friday night assembling the rear spar.  We riveted the stiffner plates and the spar doubler to the rear spar.  It wasn't a ton of work but we also worked on the attach brackets.
We took Saturday off as we went to the football game in Hamilton.  We had great seats in the first row and for those of you who watched the game we were right beside the TV cart when Eddie Davis got smacked into it.  I can't believe he got up after that hit.  It was an amazing game and the Riders won so it was a great day! 

The parts laid out for the evening's work. 


Scott squeezing some rivets. 


Darren taking a turn at sqeezing some rivets. 


A shot of the field at Ivor Wynne Statium.

We got to hear the Tigercat's Cheer.... Something like "Oscar-wee-wee, Oscar-wah-wah, Tigercats eat'em RAW!"  


Our Saskatchewan Roughriders out on the field. 


A parting shot of the Scoreboard... I know you cannot see it but it was a 33-28 win for the Riders.

For the record the Ti-cats fans were great, and Ivor Wynne ranks as the best place to watch a CFL game in Eastern Canada by a wide margin.   The stadium is in a sketchy looking neighbourhood, but the people, and game time environment make it a great place to take in a game.


Saturday, July 5, 2008

Left Wing rear spar

Today we spent a few hours building the wing stand that we'll need to construct our wings.  Once that was done we spent the rest of the time preparing the rear spar.  We deburred all the edges, match drilled the stiffner plates and the spar doublers, countersunk any holes as necessary, removed material for the aileron push-rods and deburred all holes.  It was also necessary to dimple the spar where the doubler and stiffner plates will make access almost impossible.  Finally we prepped and primed all the parts. 

The lumber for the wing stand. 


 The pieces we will be using for the rear spar.


 Darren using a file to enlarge a hole for the aileron push-rod in the spar doubler.


 Spar doublers cleco'd into place.


The spar doublers primed and waiting for riveting to the rear spar.

Tuesday, July 1, 2008

Left wing tie down bracket

We manufactured the tie down bracket for the left wing (used when the airplane needs to be tied down outside).  After we cut the bracket to size (on the new bandsaw), we match drilled it to the spar.  We next connected and match drilled the platenuts, countersunk the rivet holes, deburred, prepped and primed the bracket.  Once that was done we attached the platenuts and then started over.  We learned that clecos are not the right way to align platenuts -- always use the screw or bolt!  


The plans for the attache bracket that we needed to build.

The tie-down bracket installed on the spar (note Darren's patriotic Canada shirt for Canada Day)

Friday, June 27, 2008

Platenuts, more platenuts and even more platenuts

Well, if the title didn't give it away we spent most of today installing platenuts on the left wing main spar.  Every platenut has 2 rivets which isn't really all that much but when you consider that we must do the following steps for every platenut:
- match drill the rivet holes (to get them to the correct diameter
- machine countersink the 2 rivet holes
- deburr all rivet holes
- spot prime where we countersank for the rivets
- rivet the platenut into place (2 rivets)
- countersink for the screw 
- spot prime the screw countersink 
It is actually a lot of work (we installed 76 platenuts today).
It was a little tedious but we completed the installation of all the platenuts and started working on the tie down bracket (used to tie the wings down to the ground when parked).  Before we quit for the day we layed out the part and tapped a 3/8x16x1" hole. 

Scott squeezing some platenuts. 


Darren squeezing some platenuts.


A sign we were not treating our hand squeezer as nice as we should have been. 


Scott match drilling. 


Scott squeezing some more platenuts.


A close-up of some platenuts from the back. 


A close-up of some platenuts from the front.


Scott measuring the piece of aluminium to be used for our tie down bracket.


 Scott tapping the tie down bracket.
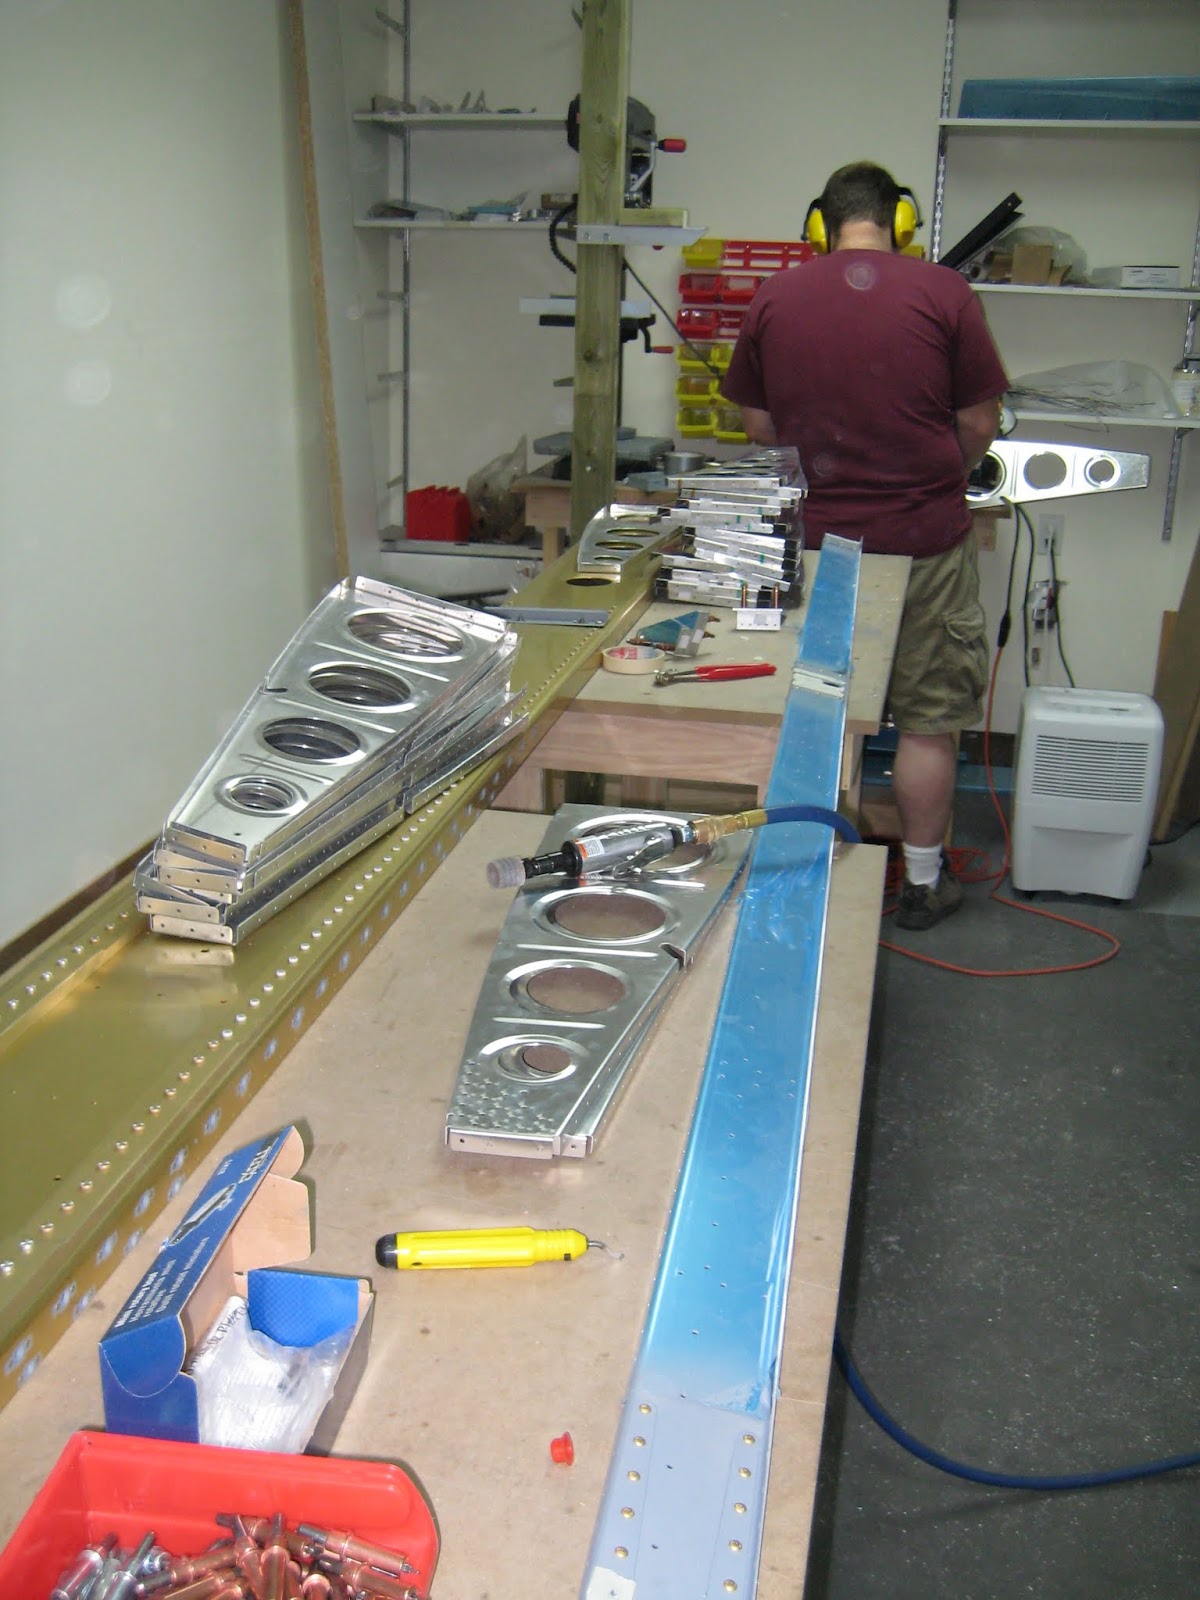
Monday, June 23, 2008

Left Wing Main Spar

Tonight we started on the left wing.  You'll notice from the picture that the main spar is actually gold.  We decided that we wanted to fly in style so we chose the "gold upgrade". :-)  Seriously though, the spar is actually anodized (a chemical protection) so we don't have to prime it.  We only need to prime where we countersink. 
We match drilled the many many many platenuts that are used to install the fuel tank and then we countersunk all the rivet holes.  Finally we spot primed where we countersunk.  It doesn't seem like a lot of progress but it was a lot of work. 

Sunday, June 22, 2008

Empennage completed

Today we finished up the remaining tasks on the empennage (at least those we can do prior to inspection).  We installed the trailing edge wedges by match drilling to the top elevator skin, through the wedge and into the bottom skin.  After that we deburred and dimpled the skins and machine countersunk the wedges.  We then prepped and primed the parts.  Finally we rolled the rudder leading edge.  We spent the remaining time cleaning and reorganizing the shop. 
We'll start on the wings on Tuesday. 

The left elevator layed out with the piece of "L" aluminum used to assist in drilling out the trailing edge.  


 Scott drilling out the trailing edge.


Darren deburring.