Saturday, January 16, 2010

Left Flap Assembly

This week we worked on the assembly of the left flap.  On Tuesday night we spent some time assembling the leading edge rib assemblies (these are the pieces that hold on the leading edge skin and also attach the flap to the wing.  We then worked (both on Tuesday night and Saturday) on assembling the leading edge assemblies to the main spar.  We also attached the main ribs.  The leading edge was attached to the rib assemblies with a combination of blind rivets (also called pop rivets) and solid rivets.  Finally we began riveting the top skin to the main spar.
 Tuesday January 12

Scott squeezing some rivets.


A shot of the flap spar at some point during assembly.


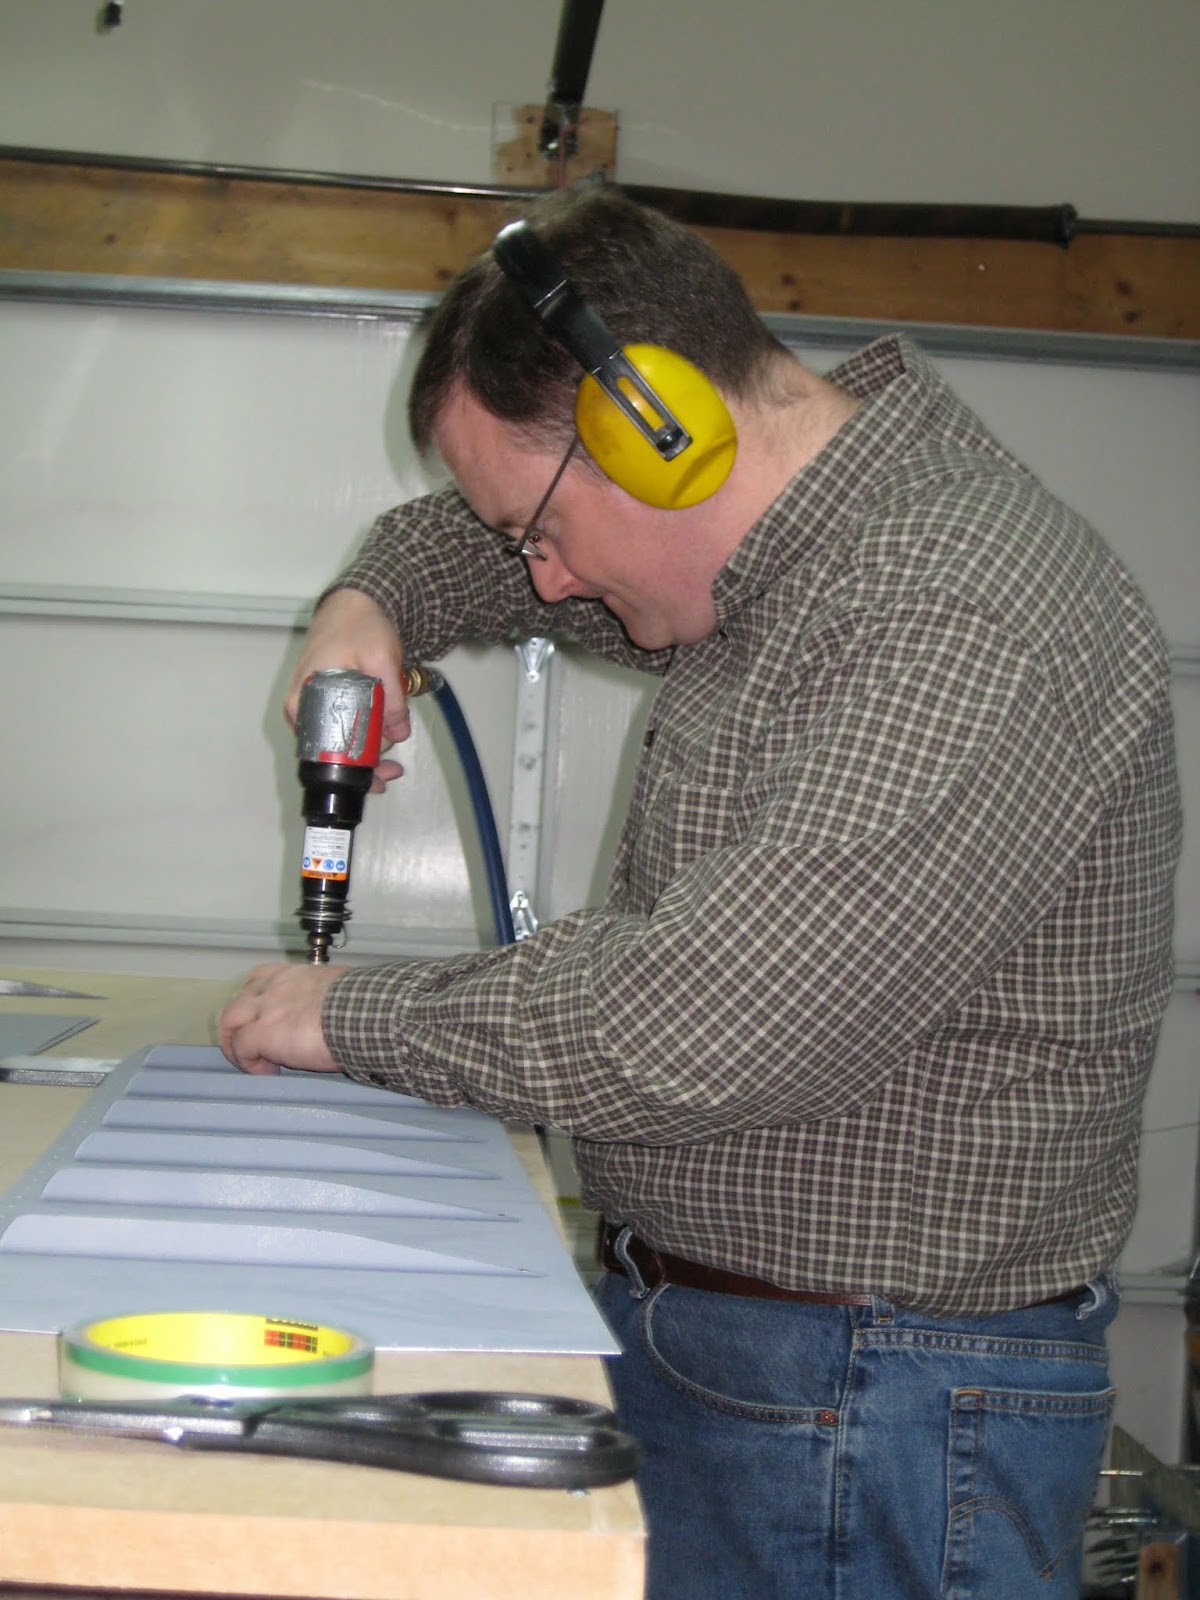
Darren working on flap assembly.

Saturday January 16


Scott laying out the flap ribs.


Darren examining the flap prior to riveting


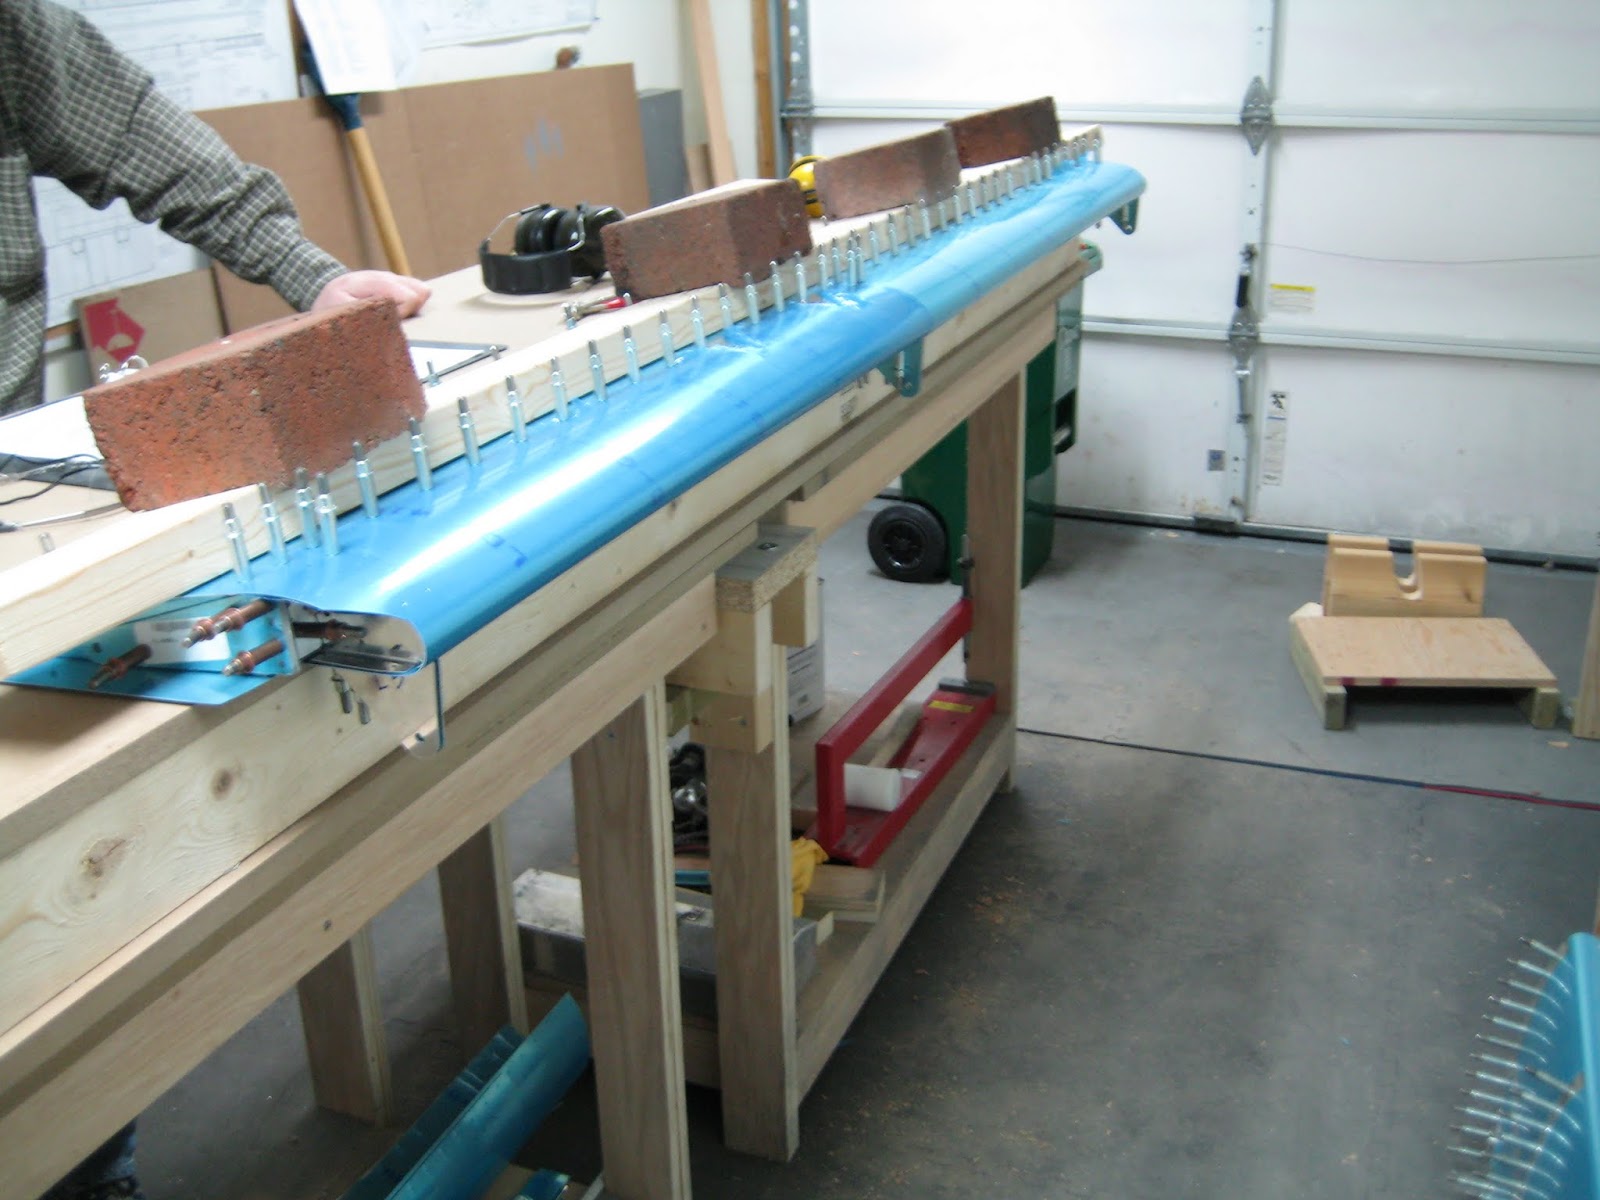
 Darren riveting the leading edge skin onto the flap.


Scot tremoving the 2x4 used to weigh down the flap during the riveting of the leading edge skin.


 Darren preping for the riveting of the top skin onto the flap.


Scott, and Darren riveting the flap's top skin into place.

Saturday, January 9, 2010

We've been working...

...really... I swear.
After a little boo boo on the aileron before Christmas we started working on the left flap.  There are a lot of little parts and assemblies plus the skins are extremely tight (which is a good thing since the skin forms part of the structure) so it took some work.  After assembly, match drilling and the standard prep work (diassemble, debur and clean up the edges) we moved onto the prep for priming (sand the surface, clean the parts with a smelly chemical and then prime).  All parts are now primed and ready for assembly.
I've been lax in updating the site since November, I promise we'll keep the site more up to date as we progress through the rest of the ailerons and flaps and finish up the tanks.
November 18th

 Some pieces primed, and ready for assembly. (we messed up 2 out of 4 of these pieces)

November 21st

Scott working on some back riveting. (Again, these are half right -- at least for an optimist)


Scott assembling the aileron frame.  (These are all correct)


The pieces of the flap layed out prior to construction.

December 5th


Post drilling out the table so the clecos will fit in the table, and the flap will lay flat.


Scott working on assembling the flap frame.


Scott working on attaching the leading edge skin to the flap.


 Scott still working on attaching the leading edge skin to the flap.


Scott taking a break to check the his work, and look at the instruction manual.


A shot of the weighed down flap. (to keep it laying flat.)


Another shot of the same thing....

December 13th

Scott working on drilling the leading edge ribs, and skins.


Darren taking things apart so it can be deburred, primed, etc.


Darren again.


The pieces apart, and ready for pre-assembly prep.

January 9th

 Darren standing around not doing all that much, some time during the dimpling, and deburring process.

Saturday, November 14, 2009

Ailerons and more fuel tank work

Today we worked on a couple of things.  First, we worked on sealing and riveting the fuel tank today.  Next, we started working on the ailerons.  For the tank, it was deja vu.  We sealed and riveted another couple of ribs.  We've decided to time limit the tank sealing sessions because the smell is horrible.  A few hours is enough with that smell. After that, we started working on the ailerons and it was nice to work on something completely new.  The ailerons are a little different because they have a stainless steel tube that is used as a counter-balance.  We match drilled the reinforcement plates to the aileron spars and then worked on drilling the counter-balance tubes to the ribs.  After that, we cut all of the stiffners and prepped them.  Our final step was to match drill the stiffners to the aileron skins.

The tank after a little more progress.


A shot of the tank from the "inside" view.


 Time to change it up for a bit, a fresh start for the ailerons.


A shot of the ailerons with a few pieces cleco'd together.


Scott working on cleaning up a few pieces for the ailerons.

Wednesday, November 11, 2009

Riveting the tanks

Today we worked on riveting the fuel tanks.  Because the tanks need to be leak proof each hole needed to be cleaned, some pro-seal (aka midnight-grey death) added, the rivet inserted, the rivet set and then the inner and outer skin cleaned.  We got about half way done with one tank today.

A picture of one of the tanks after the day's efforts

Saturday, November 7, 2009

Rolling, rolling, rolling down the side street

Today we finished up much of the right wing.  We riveted the gap fairings to the top skin and rear spar.  Finally we prepped (deburred, dimpled and primed) all of the bottom skins.  Once that was finished we used the wing stand to take the wings to Darren's house (hence the title).  Unlike the last time we rolled a wing to Darren's we got a few confused looks this time.  As usual with Ontario, no one would actually think to ask what we were doing -- if this was Saskatchewan (where people are friendly) I figure the move could've taken an hour as people stopped to talk.
Before we started work today we moved some of the bigger pieces of the fuselage kit over to Darren's house and cut up some of the wood left over from Home Depot aircraft supply (the fuselage crate lid, the wing stand, etc) to clean up the shop.  We even vacuumed. 
To put the icing on the cake that was today, Saskatchewan beat Calgary to win 1st place in the West!  For the first time in 33 years Regina will be the host of the Western final.  Go Riders!  I wish I could make it home to see that game.


A picture of the wing wing prior to transport.
 

Scott working on prepping one of the bottom wing skins.


Scott finishing up clecoing the bottom wing skin prior to wandering down the street. 

Friday, October 30, 2009

The fuselage is here

We spent a non-spooky haloween day inspecting, inventorying and organizing the fuselage kit.  Once again Van's did a great job packing the kit and we were only missing 2 parts (and we only had 1 extra).  Considering how many parts are in this kit I'm quite impressed.  We're setting the fuselage aside until the wings are done and we have the empennage and wings inspected.


The crate just after it was delivered.


The crate shortly after we opened it up


Scott doing paperwork while Darren unpacks


Darren unwrapping parts and folding up packing paper


Almost finished unpacking.  The roll you see are the main fuselage skins.

Saturday, October 17, 2009

Fuel tank sealing and other right wing work

Sorry for the delayed updates.  At the end of September we worked on sealing both the left and right fuel tanks.  We sealed all of the tank ribs (except the end rib) and clecoed all of the ribs to the skin.  We're actually quite happy with the results but the sealant is smelly and sticks to anything (see the other post).
 
We took a few weeks off because of travel and other events.
 
When we got back to it, we returned to the right wing and attached the aileron and flap brackets.  Finally we did all the prep work (match drilling, deburring, dimpling and priming) for the airleron and flap gap fairings.